After being so happy with the work G2 had completed on their kitchen and master bath, this Gulf Harbor customer came back for more. This time, they asked us to update the guest bathroom. With so much of the home being remodeled, the guest bath stuck out like a sore thumb. So, Enter G2. We came back like Michael Jordan to the ’95 Bulls to modernize their guest bathroom and in my opinion, made it better then the first.
G2 Home Services provides a one stop shop where you can work with interior design and construction professionals who can help you create a beautiful, practical & functioning home. We start each project with a Design and Budget Consult (our “fit” meeting). This will help you clarify your design ideas, understand the remodeling process and create a Good, Better, Best Budget for your project.
For this Project, our customer was not looking for the works, really, all things considered, it was an easy going project. Keeping the original vanity, matching the ceiling to the master bath, lighting, plumbing, and tiling was the bulk of this remodel. Keeping the remodel “cut & dry” meant G2 was able to get in and out in only a few weeks. Being this customer worked remotely from home, this was ideal for both them and us as we try to be as un-disturbing as church mice. So lets get into how we managed to do it…
Before Photos
Construction Photos
Measurements
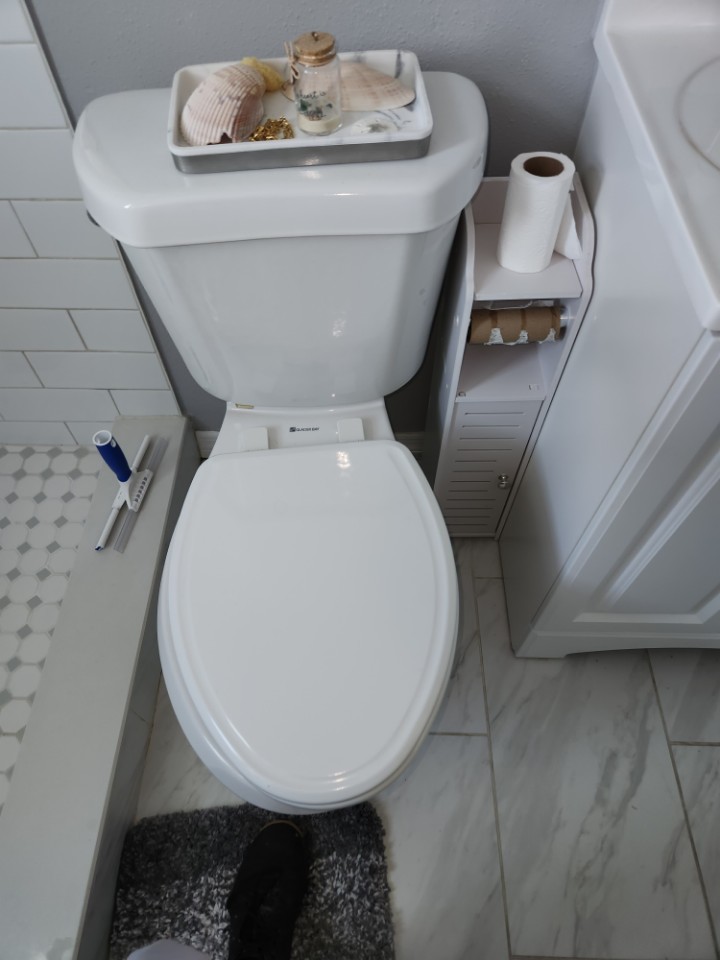
After Photos
Our Favorite Things
Whenever we start a job, there are always selections and choices in the design that make us stand back and think, wow that is perfect. So we always like to take this section and highlight some of those features…
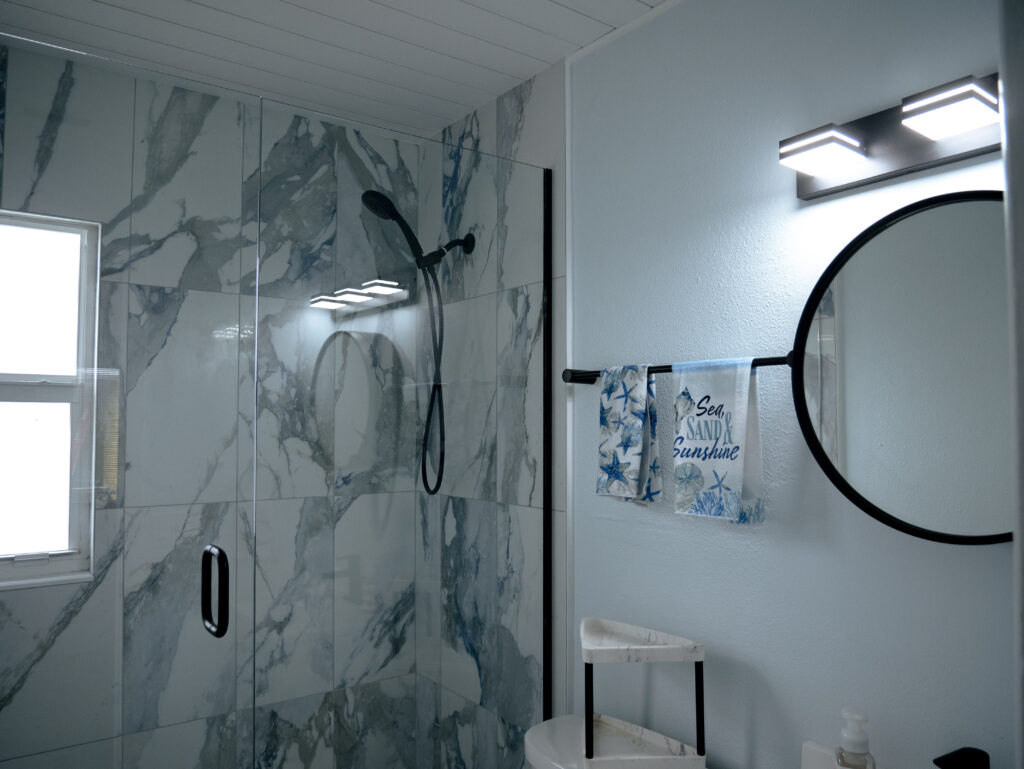
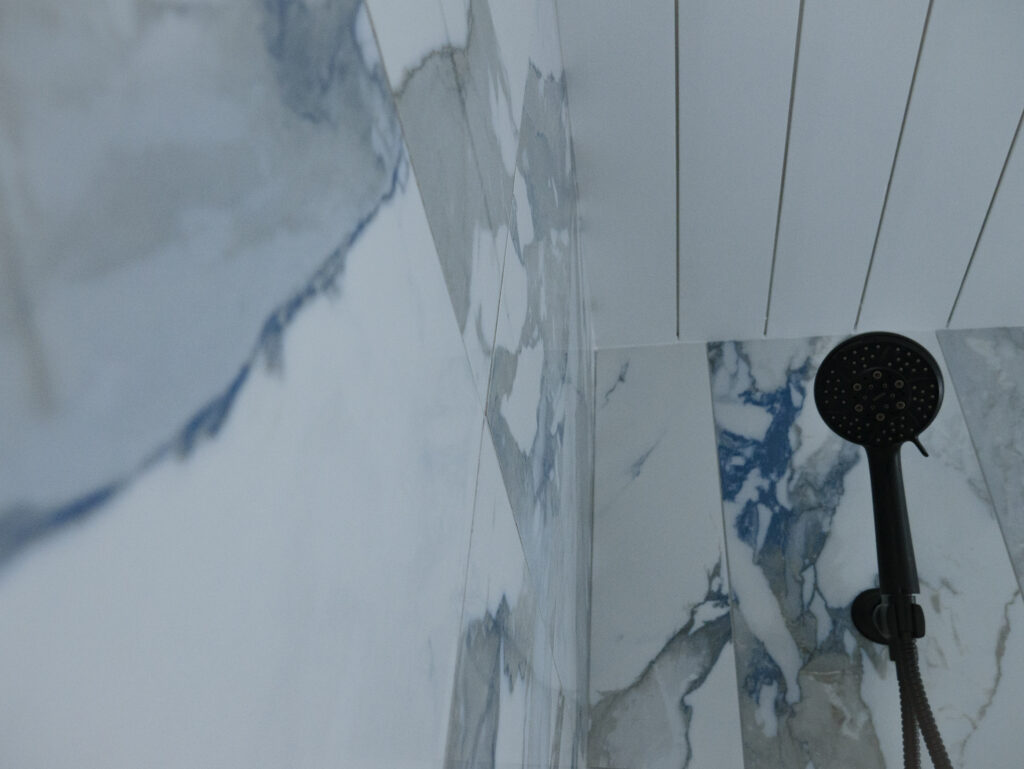
First I want to point out the Tiling. The Crash Blue wall and matching floor tile is my personal favorite. The striking blue veins mixed with the natural stone coursing through the white base is a beautiful accent to the blue wall paint and sets an ocean-like theme to the bathroom.
Next is the shower niche. Eliminating the need for the customers previous shower hanger for all their hygiene products, the built in niche with the accenting tile is a modern aesthetic for any bathrooms storage options.
Finally is the Lighting. The window with frosted glass was already there, and is perfect for letting in natural light, but the vanity lighting is not only sleek but bright! Even on the darkest of nights it provides enough light for the entire room while looking like it is straight out of the next TRON movie.
*Bonus favorite thing is the shower glass from MyShowerDoor.com, replacing the original shower curtain opens the space up nicely.*
Scope of work
We mentioned it before, but the scope of work on this project was a breeze for the experienced G2 crew. So come join us for this walk in the park as we take you through everything that went into the bathrooms remodel.
Demo
It all starts with sledge hammers and pry bars. First with the existing shower, backer board, shower pan, mud set and shower curb. Then the floors and base board need to go. The careful removal of the existing vanity and toilet so they can be reinstalled later. And finally the vanity light as well.
Plumbing
As simple as can be, all that was needed was stubbing the shower waste up and replacing the p-trap. Next was replacing the angled stops on the faucets and toilet. Installation of the new faucets for the shower and vanity and the shower trim after that. Finally, finishing off the plumbing by reinstalling the toilet.
Electrical
Short and sweet not much to do here, just replacing a few switches and coverings. The biggest part was replacing the GFCI outlet.
Wall board
All that was required for the wallboard was patching up the drywall as the project went along and where the shower tile met the sheetrock. Then installing the Schluter-Kerdi shower system as well as the shower niche.
Painting
Paint!
Tile
Installing the new shower and wall tiles, without the need for listello.
Carpentry
Bring in the existing vanity and reinstall it. Install the matching base board from the first bathroom G2 did in this home. Install the shiplap on the ceiling to match the first bathroom as well.
Décor
This is the final touch to the project, Installing the mirror, towel bars and fixed panel glass just as the chefs kiss to the project.
Project Start Date: 12-09-22
Project End Date: 01-19-23
Total Project Cost: $24,223.21
Pricing Breakdown:
Contracted price Subtotal: $23,623.21
Approved Selection Subtotal: $0
Change Order Subtotal: $600
Job Running Subtotal: $24,223.21
Selections:
Floor & Wall Tile: Blue Crash 12×24
LAV Faucet: Moen rizon Matte Black single hole w/cover plate
Medicine Cabinet: Head west 6297 Round medicine cabinet
Shiplap: Classic 5.2-in x 12-ft White Pine Shiplap
Shower Floor/Niche Tile : 12″ natural finish blue crush mosaic
Shower head : moen rizon hand held
Vanity Light: Anatomic Geo 3 light vanity light
Trade Partners:
Dimi Electrical Services
My Shower Door
All Service Plumbing of Pasco County Inc.
Our team is made up of great companies and individuals that believe in quality and care about the work they do. Most of our sub contractors and vendors have been a part of our team for many years. This allows our subs to build a great working relationship with our team.
The Full Walkthrough Tour of this bathroom is up on our YouTube Channel! Click Here to check out every square inch of detail on thisbathroom!
We start each project with a Design and Budget Consult. It will help you clarify your design ideas, understand the remodeling process and create your budget. It’s the best way to start planning your project.
All Your Remodeling Questions Answered!
Download Your Free Cost Value Guide Now!
Discover the true value of your investment with our in-depth Cost Guide To Remodeling.
Sign up with your email to receive exclusive access to local pricing trends, average remodel costs, and how much you recoup in the value of your home.
Empower your next remodeling project with the knowledge you need to make informed decisions.