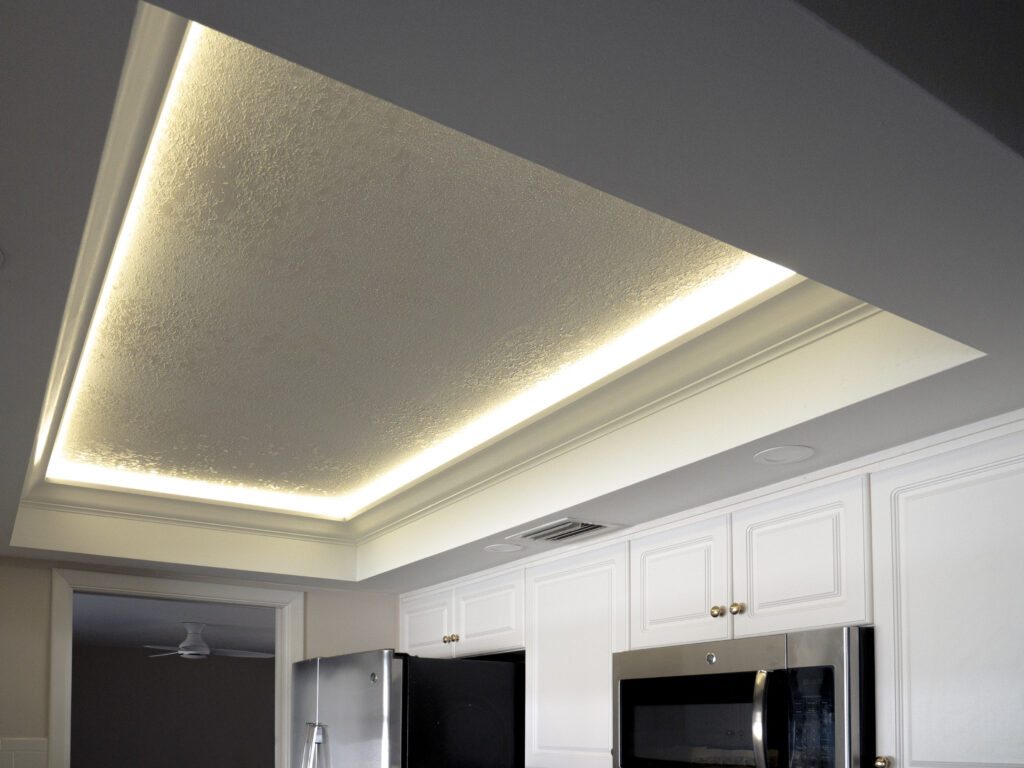
New recessed lights & crown molding in the kitchen
& More
From the moment this family contacted G2, we knew this was going to be a monster sized job. From the Bathrooms to the kitchen, the electrical to the carpentry, this family asked to get everything done in one fell swoop. So, just like when King Arthur swung his sword, G2 knew, this was a project we could wield.
G2 Home Services provides a one stop shop where you can work with interior design and construction professionals who can help you create a beautiful, practical & functioning home. We start each project with a Design and Budget Consult (our “fit” meeting). This will help you clarify your design ideas, understand the remodeling process and create a Good, Better, Best Budget for your project.
For this home, our customers had called on G2 to remodel their bathrooms and make other improvements throughout the home. It was more than just the bathroom renovations, G2 also; updated the kitchens features with crown molding and new lighting, added new bifold closet doors to every closet, new garage lighting, patching a door panel, a home generator, two turtle doves and a partridge in a pear tree. Ok maybe those last 2 didn’t happen but they could’ve, we can make anything is possible for our customers. Anyway enough fun let’s get into the meat and potatoes of this project…
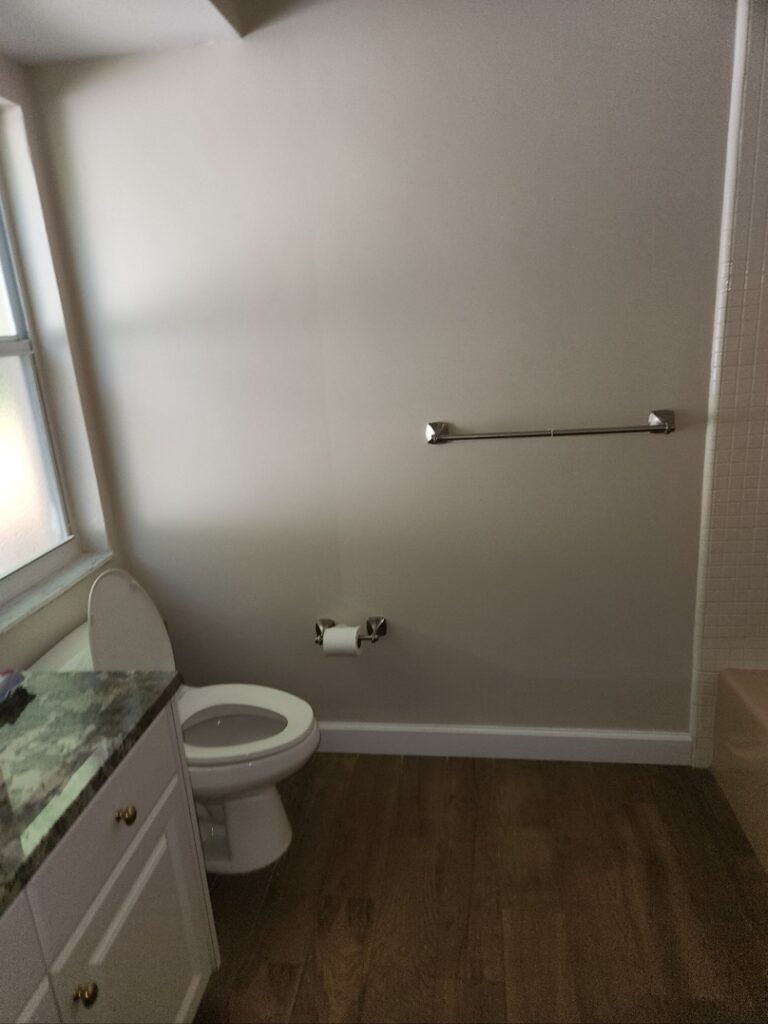
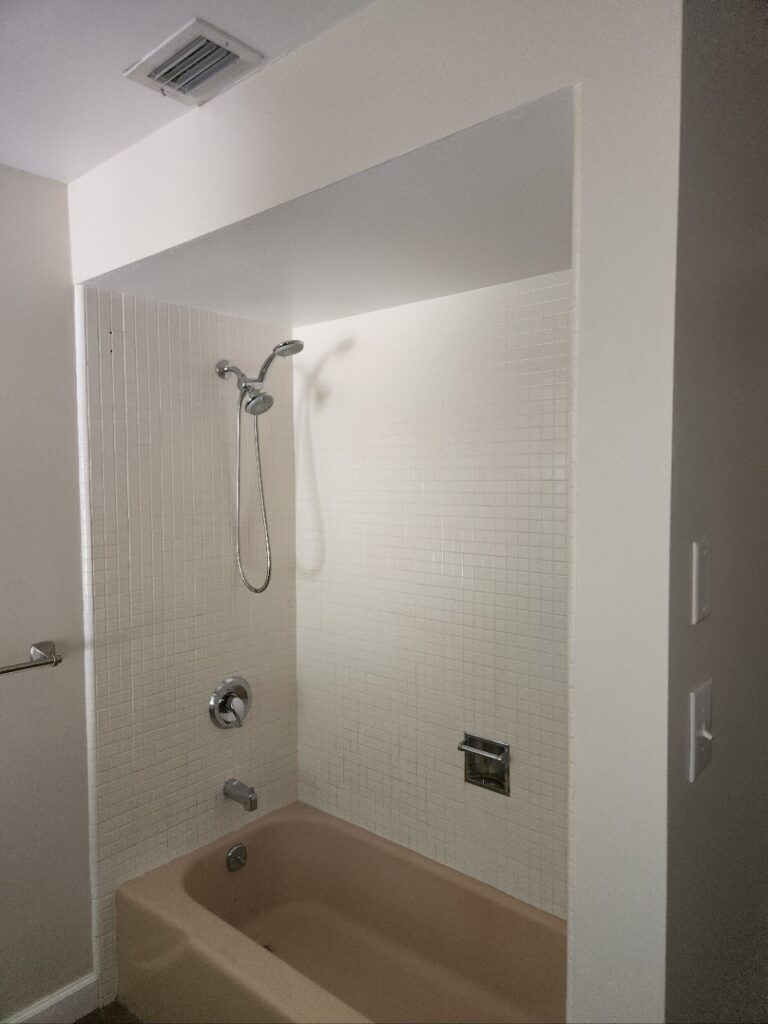
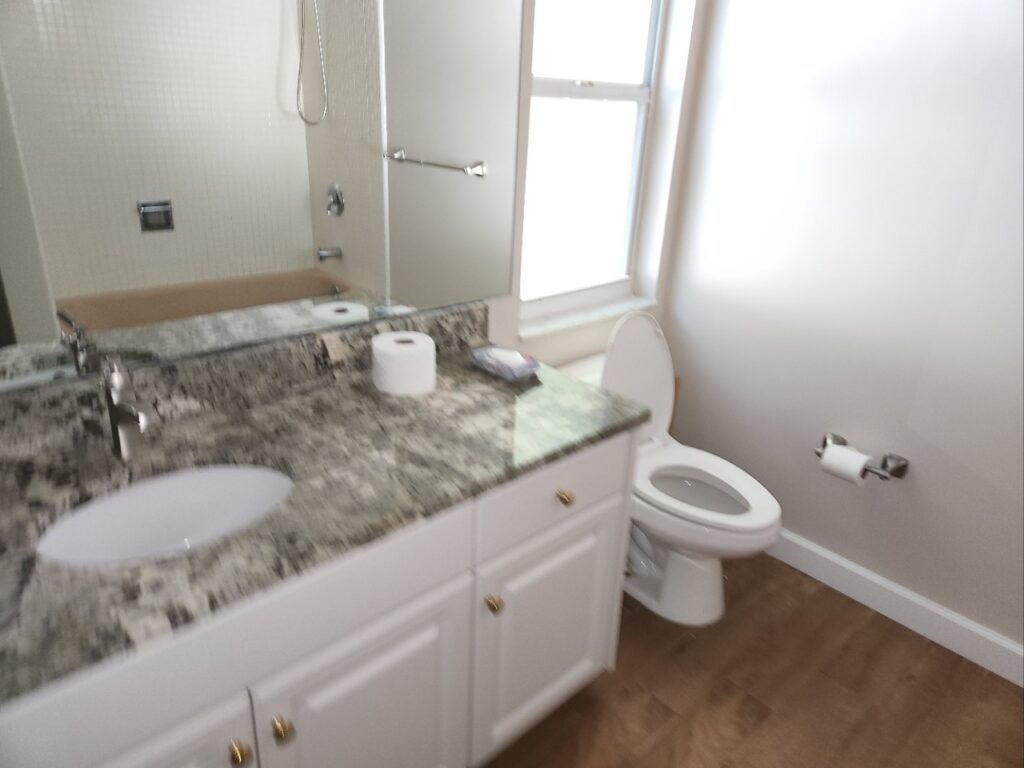
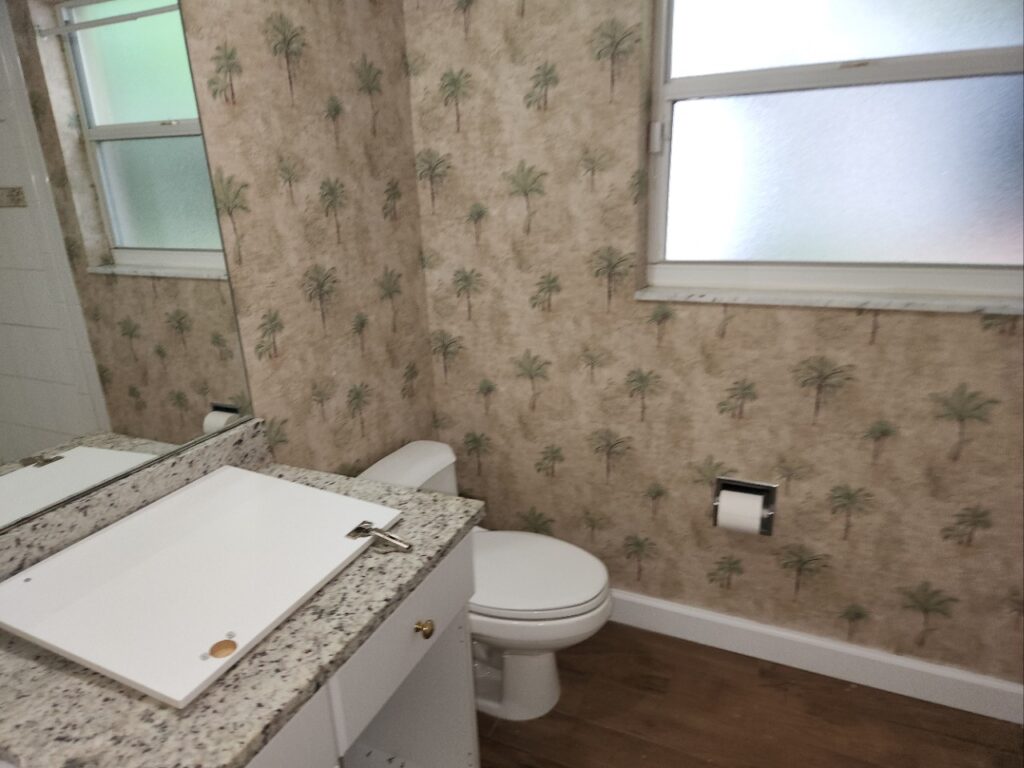
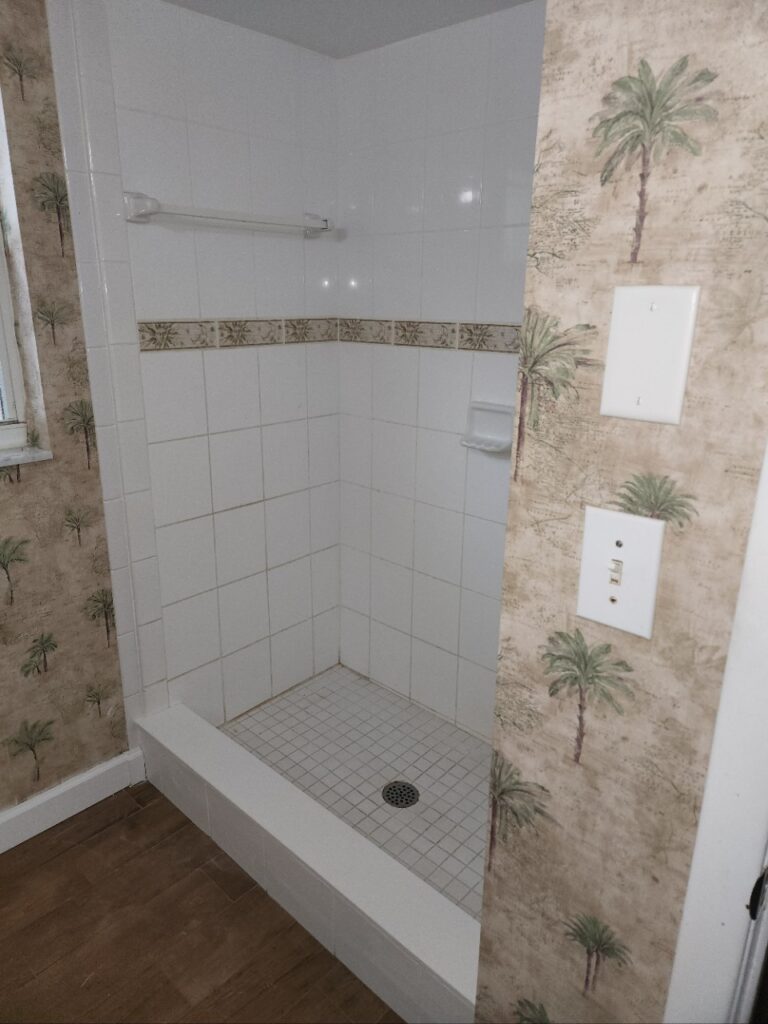
Before Photos
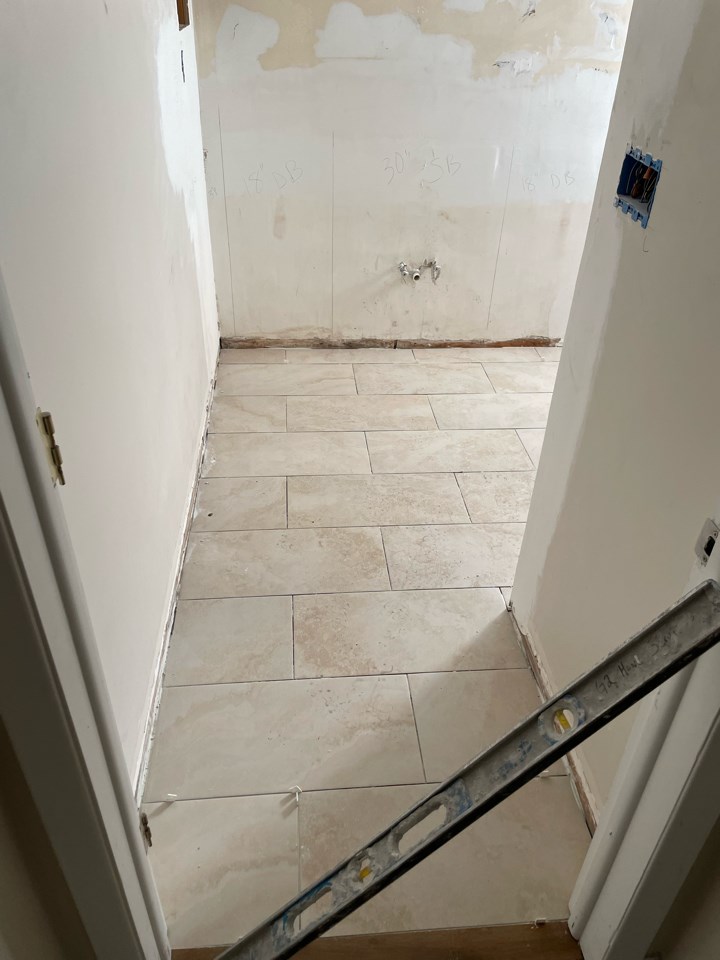
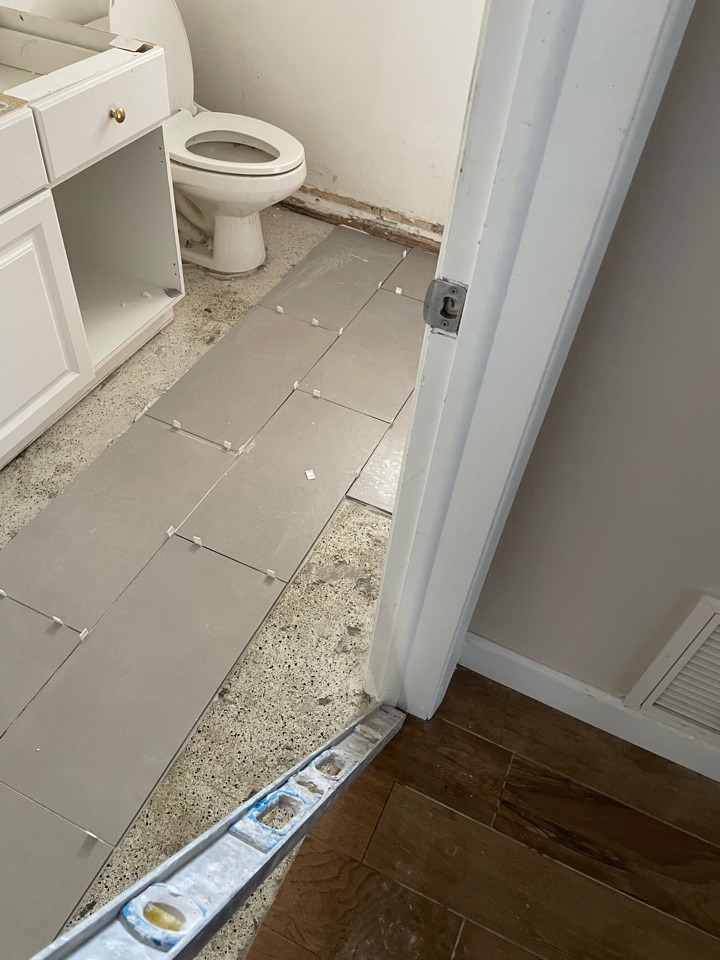
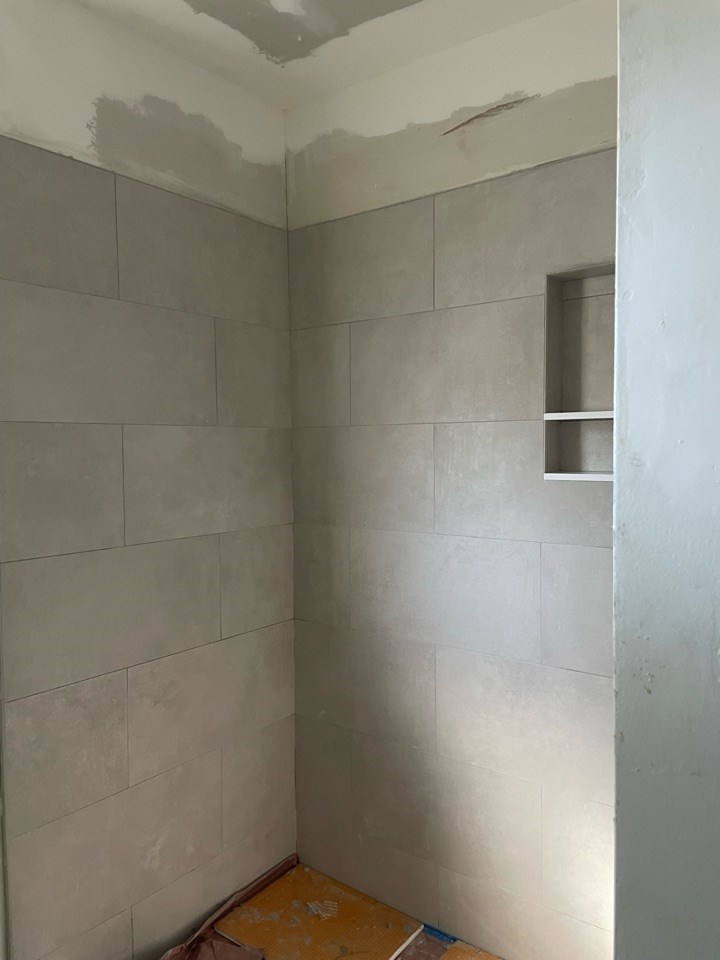
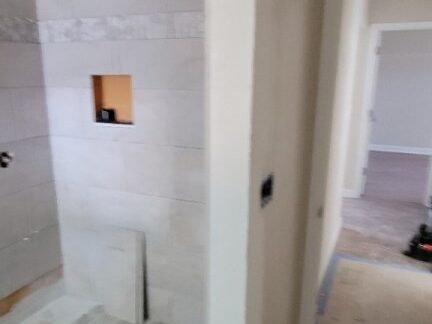
Construction
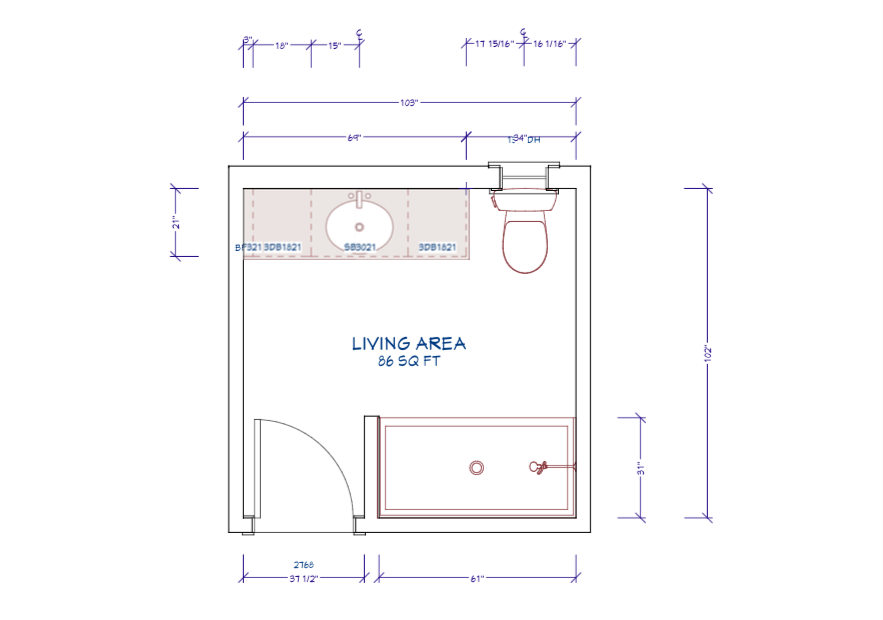
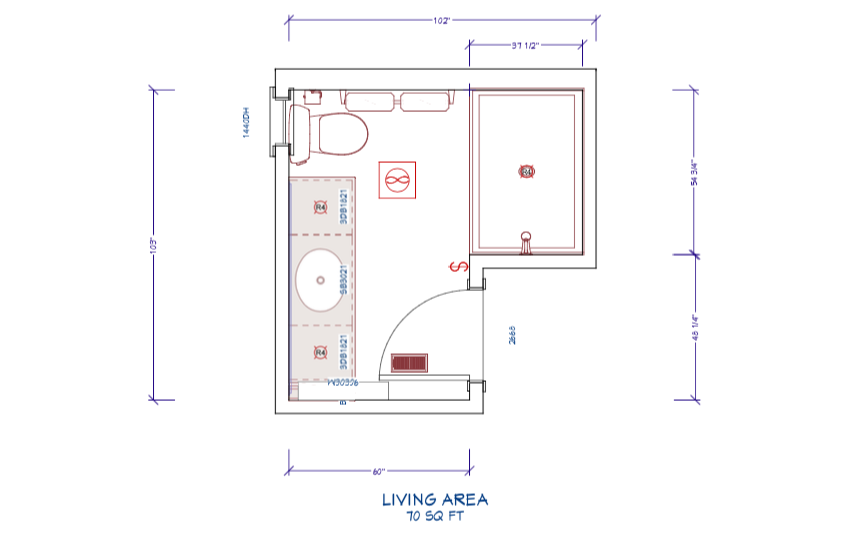
Measurements & Design
Bathroom 1
Bathroom 2
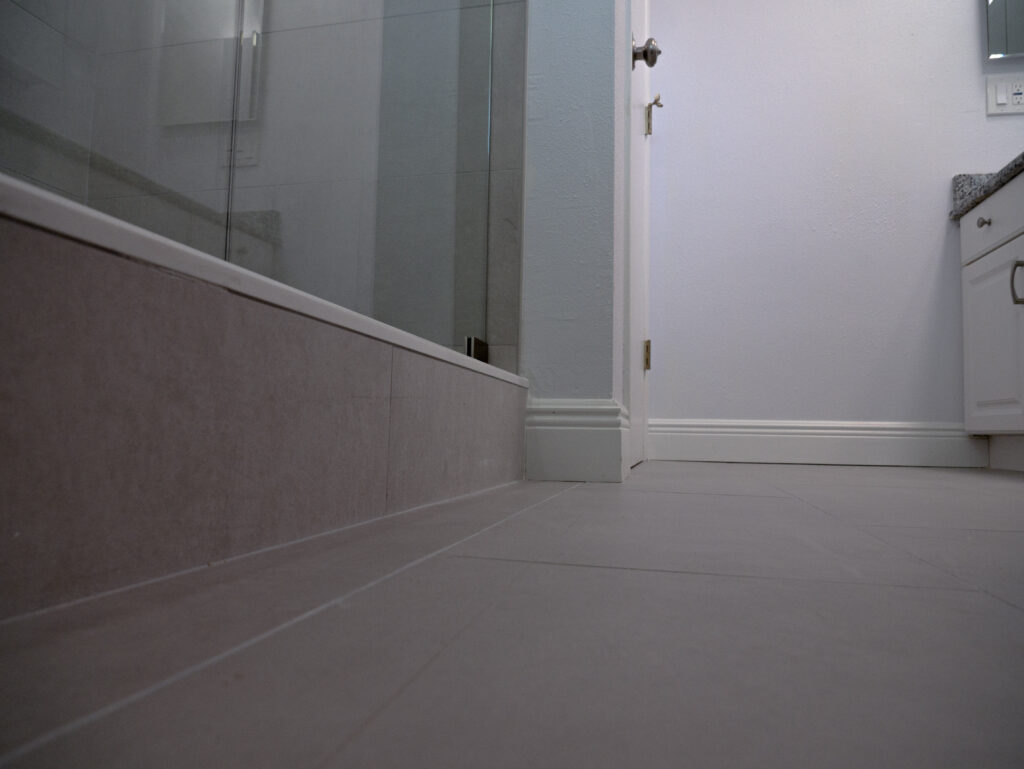
After Photos
Our Favorite Things
For any & every project we take on, there are always design choices and selections that seem like they are the ideal fit for the home. For this project there are several stand outs to my eye that I want to highlight here.
First is the kitchen. The addition of the crown molding is just the tip of the iceberg that provides the kitchen with a breath of fresh air. The real praise goes to the lighting, and not the warfare lights around, but the LED strips on the ceiling and under the cabinets. With the flick of the dimmer switch, This halo of surrounding lights engulfs you in an angelic warm glow that can’t help but feel welcoming to anyone lucky enough to step in the middle of it.
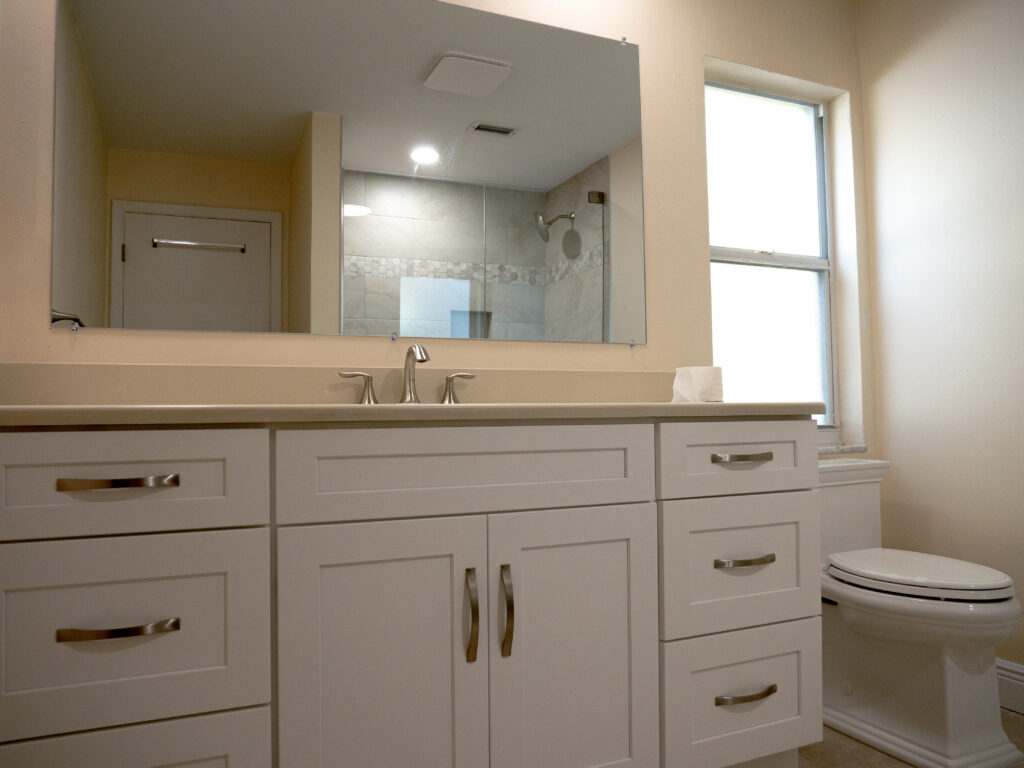
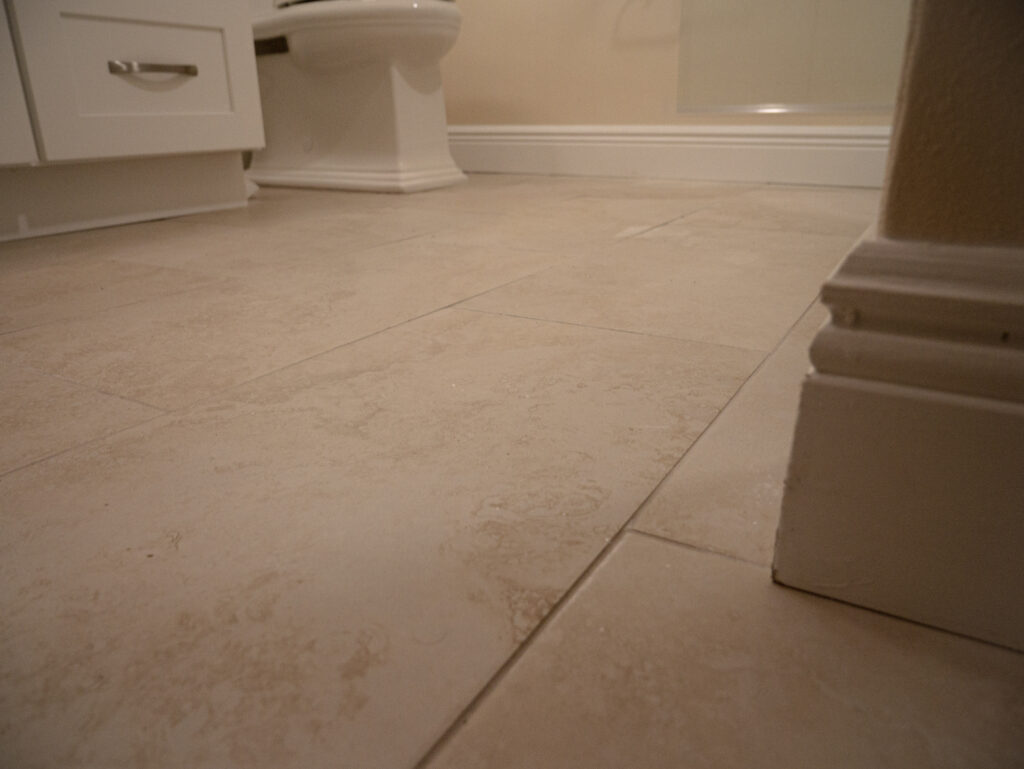
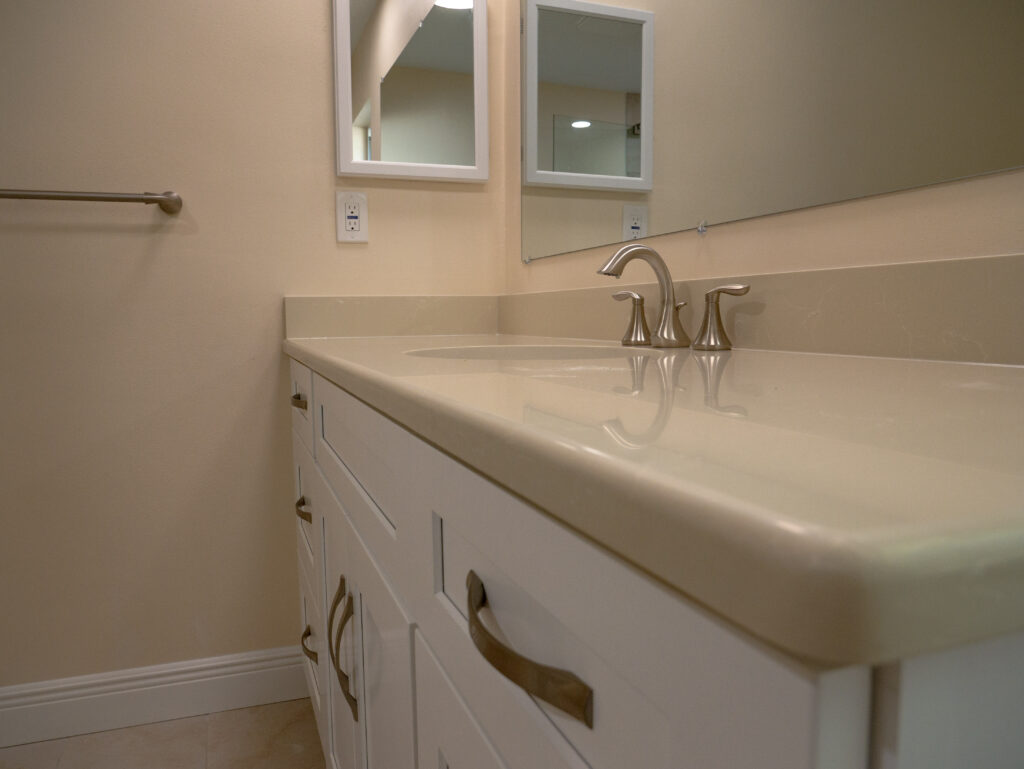
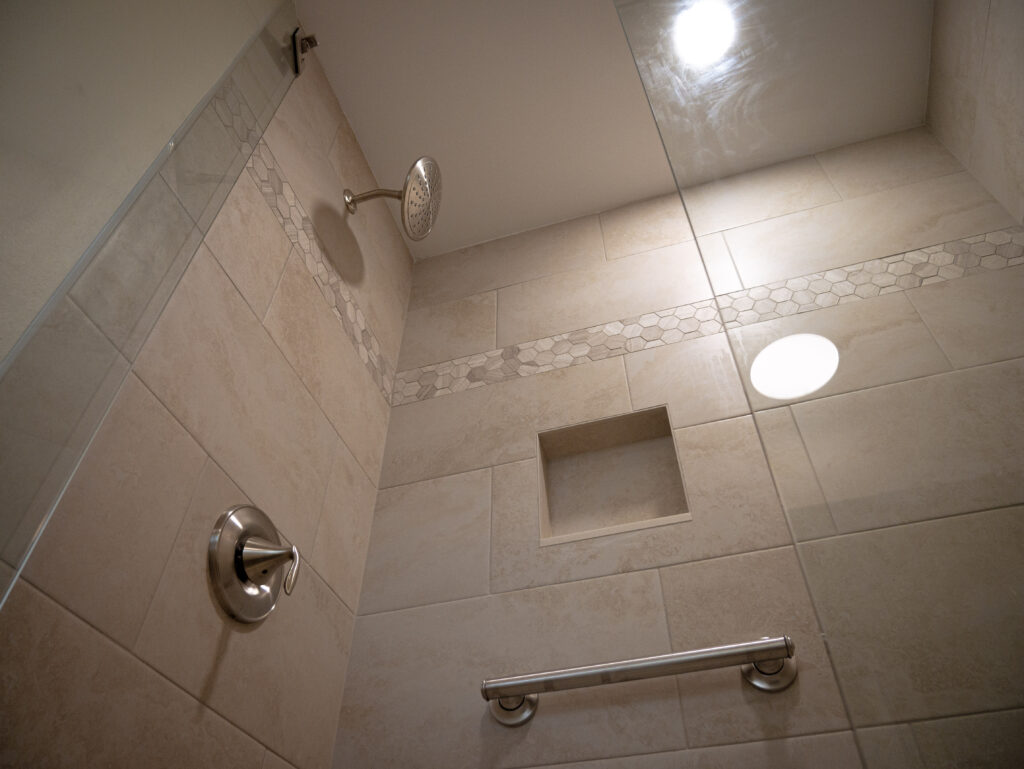
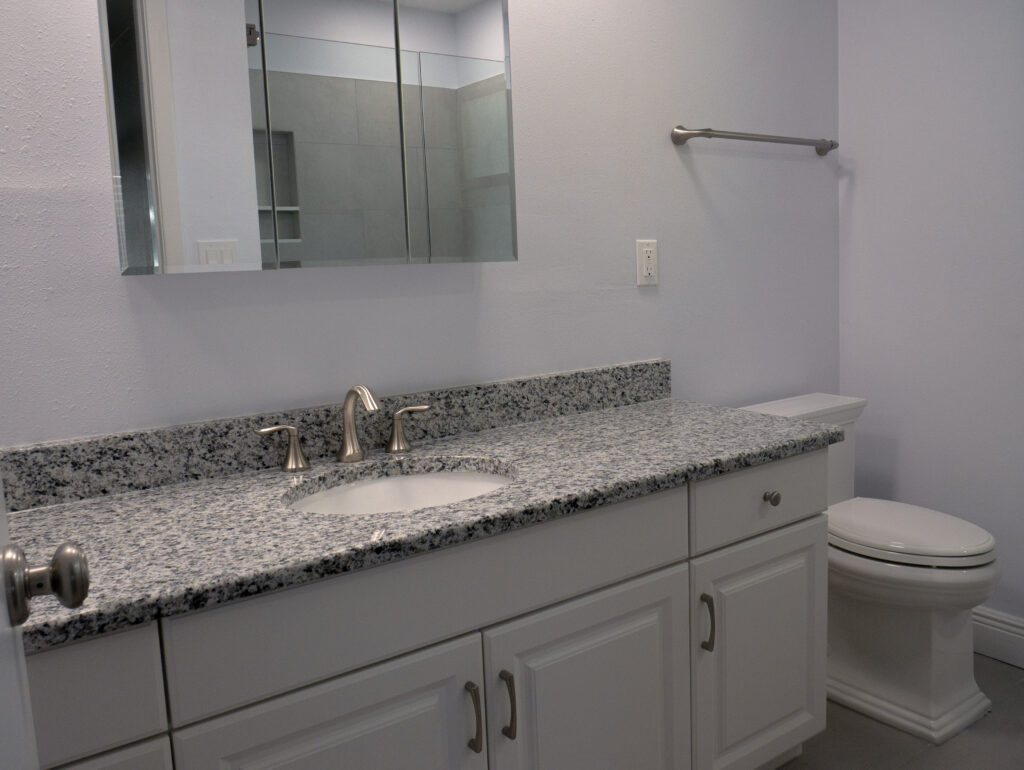
Next up is the color palette in both bathrooms. As you can see from the photos, they are anything but crazy, and that’s what I want to highlight. Not every bathroom design needs to be bold with its colors and patterns. Neutral color palettes can still enhance a bathrooms aesthetic without feeling busy to the eye. Both of these bathrooms are a prime example to that fact.
Scope of Work
As mentioned earlier the scope of work on this one was a handful, however for our experienced crew it was just another Tuesday. Let’s go through every inch of this project below.
Demo
Everyones favorite, bring out the sledge hammers! I say that but in reality G2’s demo process is one that is actually very precise and orchestrated to ensure no existing structure is damaged.
Starting off in bathroom 1 the removal of the bathtub for the tub to shower conversion. Removing the vanity and counter top, mirror and decor. Next is the sofitt, and toilet have. to. go. Finally the flooring was removed to its base.
Bathroom 2 starts off by ripping the shower and surround to the studs. Then the mirror, sofitt toilet and toilet paper holder are out of here. Finally, just as before the flooring.
The other demo around the house included the bedroom swing door and all the bifold doors around the house.
Electrical
First step, relocating the electrical panel from a closet to an exterior wall. Then the entire house was in need of a surge protector so let’s add one of those. Next up, the house generator and a transfer switch for it needs to be installed. After that, installing the 6 surrounding wafer lights around the kitchen.
Then comes relocating the fluorescent lights from the kitchen to the garage. Installing the LED’s on the ceiling and under the cabinets in the kitchen. Installing 3 box and wire for 5 ceiling fans for the living room, dining room, the office, and master and guest bedrooms. Finally, for not the bathrooms, an outlet for a water softener and interlinked smoke detectors.
Fortunately for me writing this and for our crew, both bathrooms had the same exact work done. That is installing 2 wafer lights over the vanities, and one in the shower. Furnish and install exhaust fans, and new GFCI outlets = 4 in total.
HVAC
Duct the 2 exhaust fans to the soffit.
Plumbing
Install the water softener to the newly installed outlet.
In bathroom 1, Convert the tub to a shower by relocating the drain, jackhammer the slab and change the p-trap to pvc. Install Moen Posi Temperature shower control, the toilet, sink and faucet. Oh and can’t forget the angled stops on all the fixtures.
Bathroom 2 only needs the shower temperature control, sub the existing drain remove cast p-trap and convert it to pvc. And installing the faucets toilet and angled stops as well.
Schluter
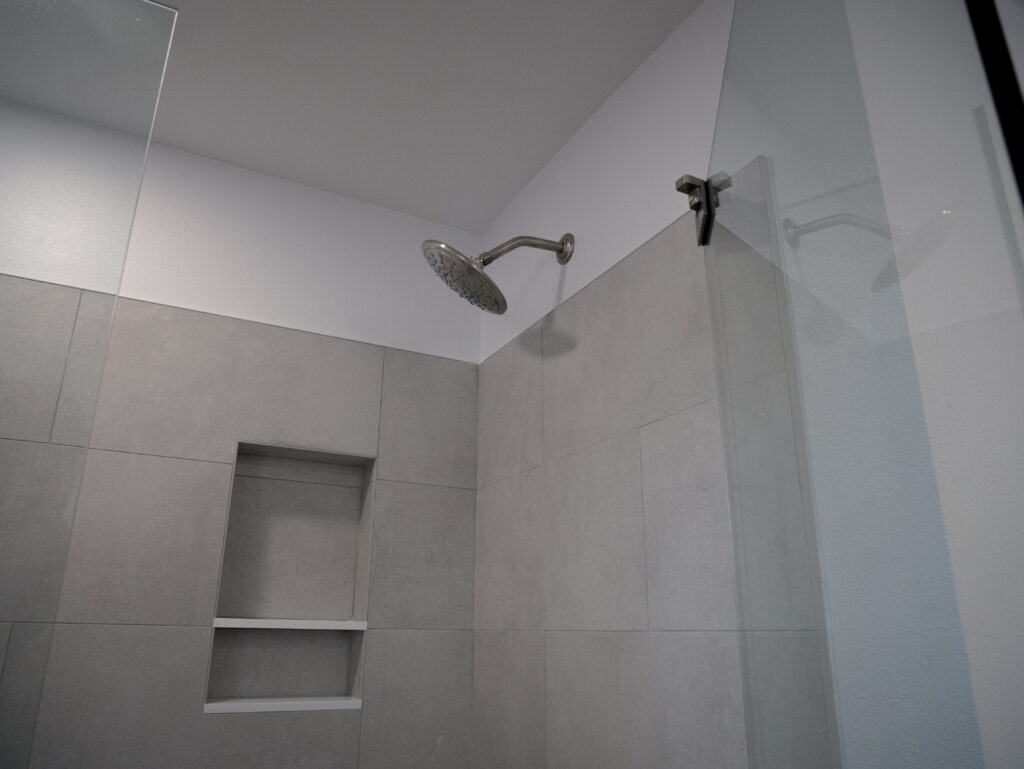
Both bathrooms saw the same work for the schluter shower system with the exception being one niche is 12×20 not 12×12.
Drywall
Infill drywall where sofitt removed in both bathrooms. Repair wall behind mirror as needed where mirrors removed. Replace corner beads on wall’s where outside corner ties into existing drywall/plaster wall. Infill recessed toilet paper holder, where electrical panel removed, as needed to add extra outlets to right side of Ray’s Mirror. Repair kitchen sofitt. Remove wall paper from Bathroom 2, skim and texture. Apply knock down texture to both bathroom ceilings and kitchen sofitt recess.
Painting
Paint!
Stone
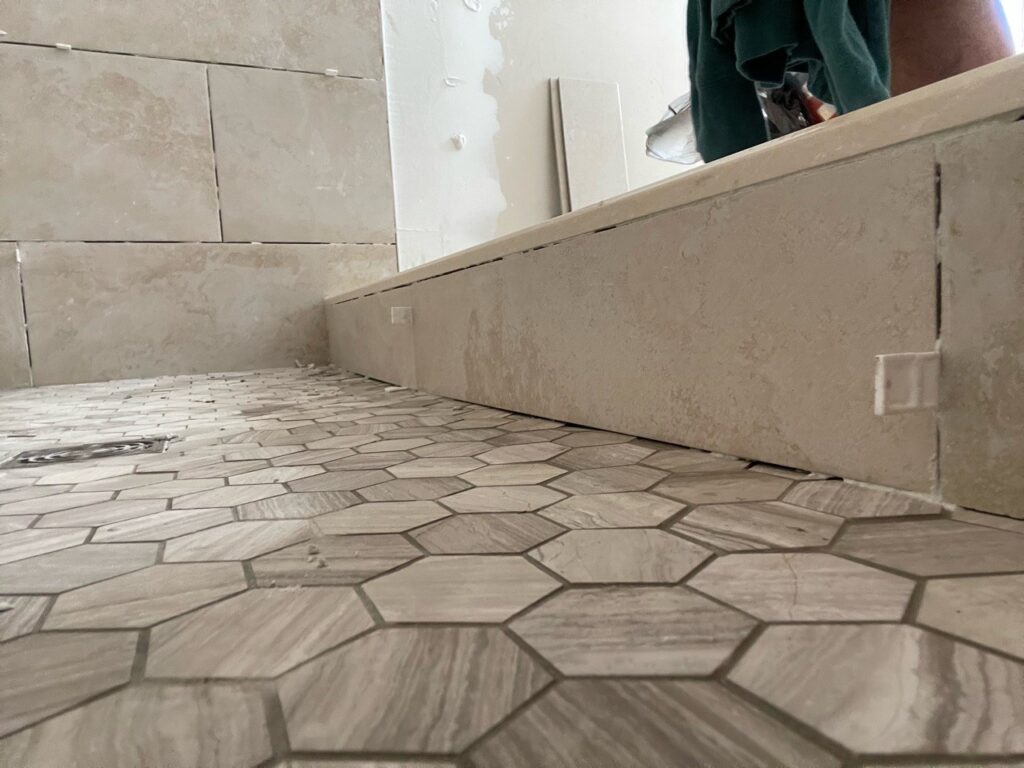
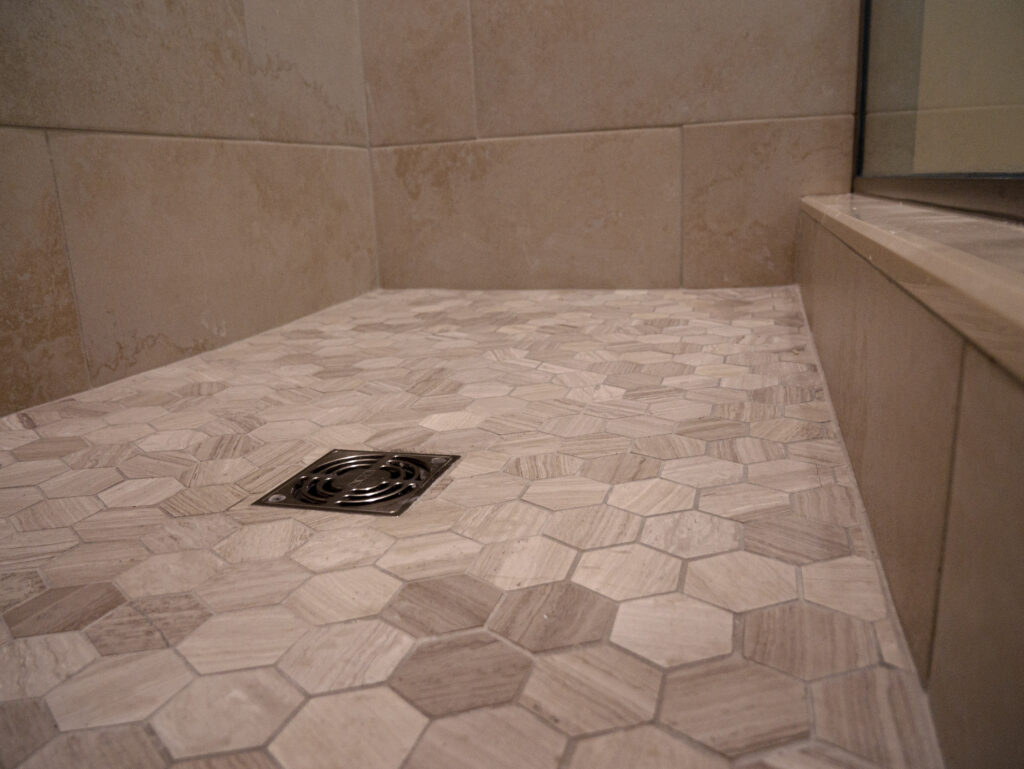
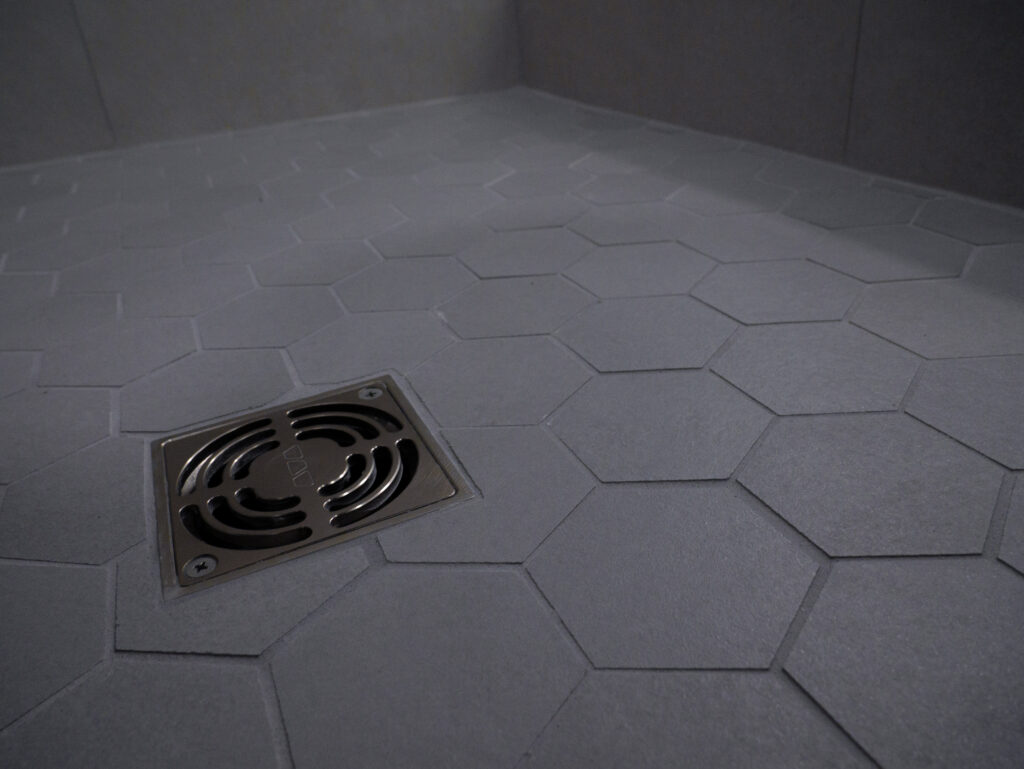
In bathroom 1, Infill concrete where plumbing moved from existing location. Install hexagon shower floor tile. Installing the 12 x 24 wall tile horizontally. Installing hexagon as listello, cut sheet into thirds. Quartz for vanity top and back splash. Tile the shower curb, bottom of niche no sill. Finish it with Brick lay pattern
Bathroom 2 is similar with a few differences, those being no listello on the hexagon pattern, and having a 4’’ backsplash.
Carpentry
Dropping the crown molding in the kitchen, the new bifold closets throughout the home, New vanity in bathroom and repairing the vanity in bathroom 2, and new base boards in both bathrooms.
Decor
New toilet paper holders, new grab bars & mirror in bathrooms 1. New trifold mirror in bathroom 2 and new cabinet pulls in both.
Project Start Date: 10-10-22
Project End Date: 01-19-23
Total Project Cost: $122,412.32
Pricing Breakdown:
Contracted price Subtotal: $122,412.32
Approved Selection Subtotal: $0
Change Order Subtotal: $0
Job Running Subtotal: $122,412.32
Bathroom 1
Total cost: $45,000
Bathroom 2
Total cost: $35,000
Other costs
Electrical & Genorator: $20,000
Closet doors & flooring: $12,000
Selections:
Bathroom 1
Flooring & Walls: Cipranio almond 12 X 24
Cabinet knobs/pulls: Top Knobs m1176
Cabinet doors: North point Catalina polar white
Counter top: Pompeii Quartz Barcelona
Lav Faucet: Moen Eva Widespread brushed nickel
Mirror: Custom
Shower Floor Tile: Emery Limestone metro honed cream hex
Shower head: Moen Eva Trim plate
Sink: Oval under mount sink
Toilet: Kohler memoirs stately
Towel bars & accessories: Eva Brushed nickel.
Bathroom 2
Flooring & Walls: Happy Floors Newton pearl natural
Cabinet knobs/pulls: Top Knobs m1128
Cabinet doors: North point Catalina polar white
Counter top: Majestic White Group A
Lav Faucet: Moen Eva Widespread brushed nickel
Mirror: Custom
Shower Floor Tile: Newton Pearl hexagon mosaic natural finish
Shower head: Moen Eva Trim plate
Sink: Oval under mount sink
Toilet: Kohler memoirs stately
Towel bars & accessories: Eva Brushed nickel.
Trade Partners:
Dimi Electrical Services
My Shower Door
All Service Plumbing of Pasco County Inc.
Our team is made up of great companies and individuals that believe in quality and care about the work they do. Most of our sub contractors and vendors have been a part of our team for many years. This allows our subs to build a great working relationship with our team.
The Full Walkthrough Tour of these bathrooms is up on our YouTube Channel! Click Here to check out every square inch of detail on these bathrooms!
We start each project with a Design and Budget Consult. It will help you clarify your design ideas, understand the remodeling process and create your budget. It’s the best way to start planning your project.
All Your Remodeling Questions Answered!
Download Your Free Cost Value Guide Now!
Discover the true value of your investment with our in-depth Cost Guide To Remodeling.
Sign up with your email to receive exclusive access to local pricing trends, average remodel costs, and how much you recoup in the value of your home.
Empower your next remodeling project with the knowledge you need to make informed decisions.